
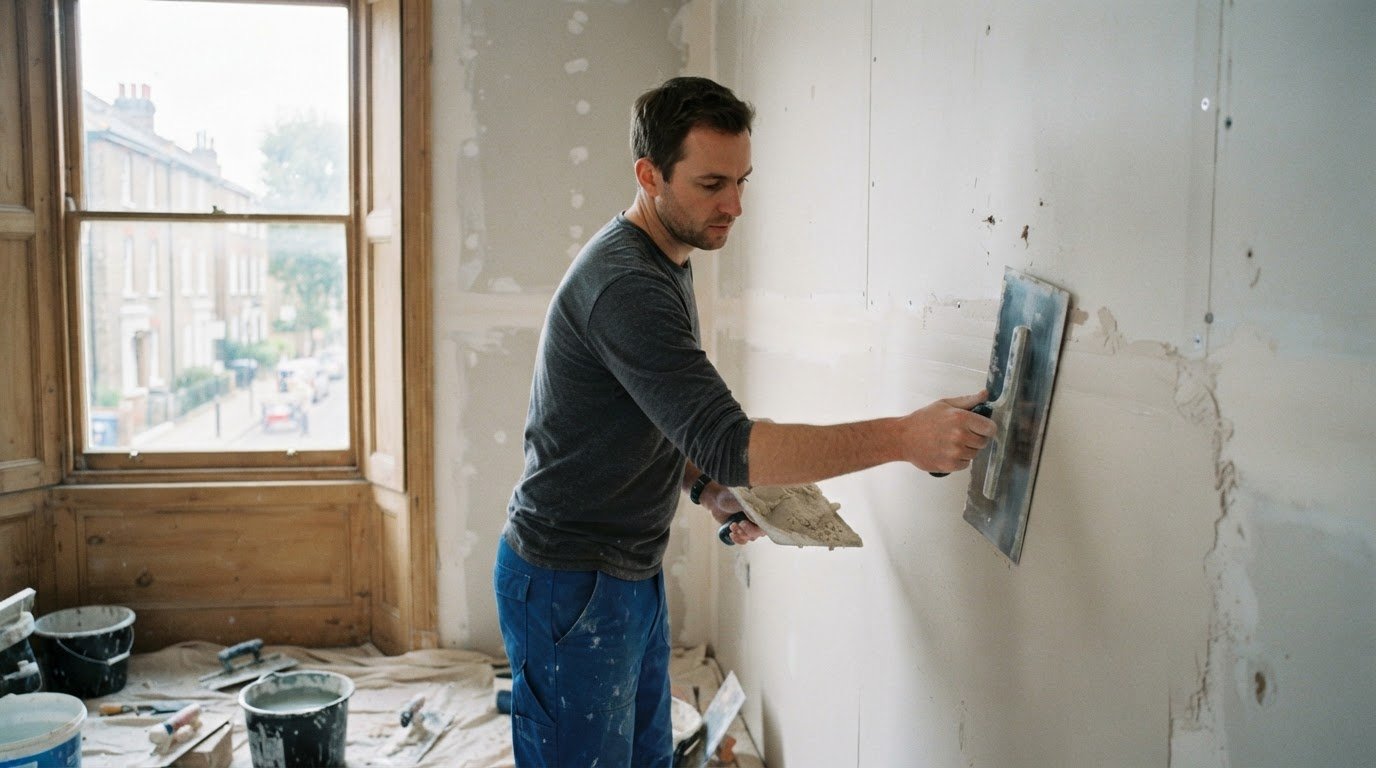
A full-surface skim is the key distinction between Level 4 and Level 5. Understanding how to achieve a level 5 plaster finish starts with recognising that Level 4 finishes the board joints, while Level 5 adds a skim across the entire surface to create a more uniform base for decoration.
It’s easy to assume that extra plaster simply makes a wall flatter. The skim is primarily intended to reduce differences in porosity between the jointing compound and the board face, so it doesn’t correct an uneven underlying surface. Preparation and a sound Level 4 base remain essential.
This guide explains what each finish involves, when a Level 5 specification may be appropriate, and how surface preparation, sanding, mixing and the first skim coat contribute to the result. You’ll also learn what to assess before decorating, including how lighting and paint sheen can make surface variations more noticeable.
Key Takeaways
- Choose between Level 4 and Level 5 according to the room’s lighting and decorative requirements, rather than treating one finish as suitable everywhere.
- Prepare the surface carefully before sanding, taking care not to damage the board face or leave visible tool marks.
- Mix plaster in manageable batches and apply the first skim evenly, keeping the condition of the surface in view as you work.
- In areas exposed to strong glancing light, consider how additional finishing coats can support a more uniform appearance.
What is a Finishing plaster coat when Plastering?
A finishing plaster coat covers the prepared surface, creating a consistent base for painting. On plasterboard, a Level 5 finish adds a skim across the whole face after the joints have been finished. This treatment reduces differences in porosity between gypsum board paper and joint compound. It isn’t intended to flatten a wall, so correct surface preparation remains essential before plastering or sanding.
In the UK, set the required finish for each area in the project specification, using the manufacturer’s guidance. Identify rooms individually: a bedroom with ordinary lighting may need a different finish from a corridor with strong glancing light. A Level 5 finish is typically specified for semi-gloss paint or critical lighting conditions. A DIYer can apply a full-surface skim, but consistent coverage and a controlled finish take practice. For extensive areas or demanding lighting, a plasterer can manage the application and inspection as part of the plastering work.
Inspect the surface in normal lighting from 2 metres away. For a more deliberate assessment, view it in daylight between 10 am and 2 pm, from angles of 90° and 30°. These checks help reveal imperfections that a straight-on view may miss. Look for uneven texture, visible joint lines and tool marks before painting. Assess the surface after sanding, since sanding can change how small variations appear under light.
Glancing light falls across a wall at a shallow angle, making slight surface variations more visible than direct light. A Level 5 skim can improve uniformity, but it cannot eliminate every issue caused by critical lighting. In areas with strong glancing light, applying multiple finishing plaster coats can help create a more even appearance. Inspect each coat under the room’s actual lighting conditions, especially beside windows or feature lights. Even a carefully finished surface may still show imperfections under critical lighting, so specify the expected finish alongside the lighting and paint requirements.
Surface preparation and sanding
Before disturbing old surfaces, consider asbestos risk in properties built or refurbished before 2000. Prepare joints, corners and fasteners by securing tape, filling depressions and feathering compound to leave a stable base.
Controlling Suction with PVA
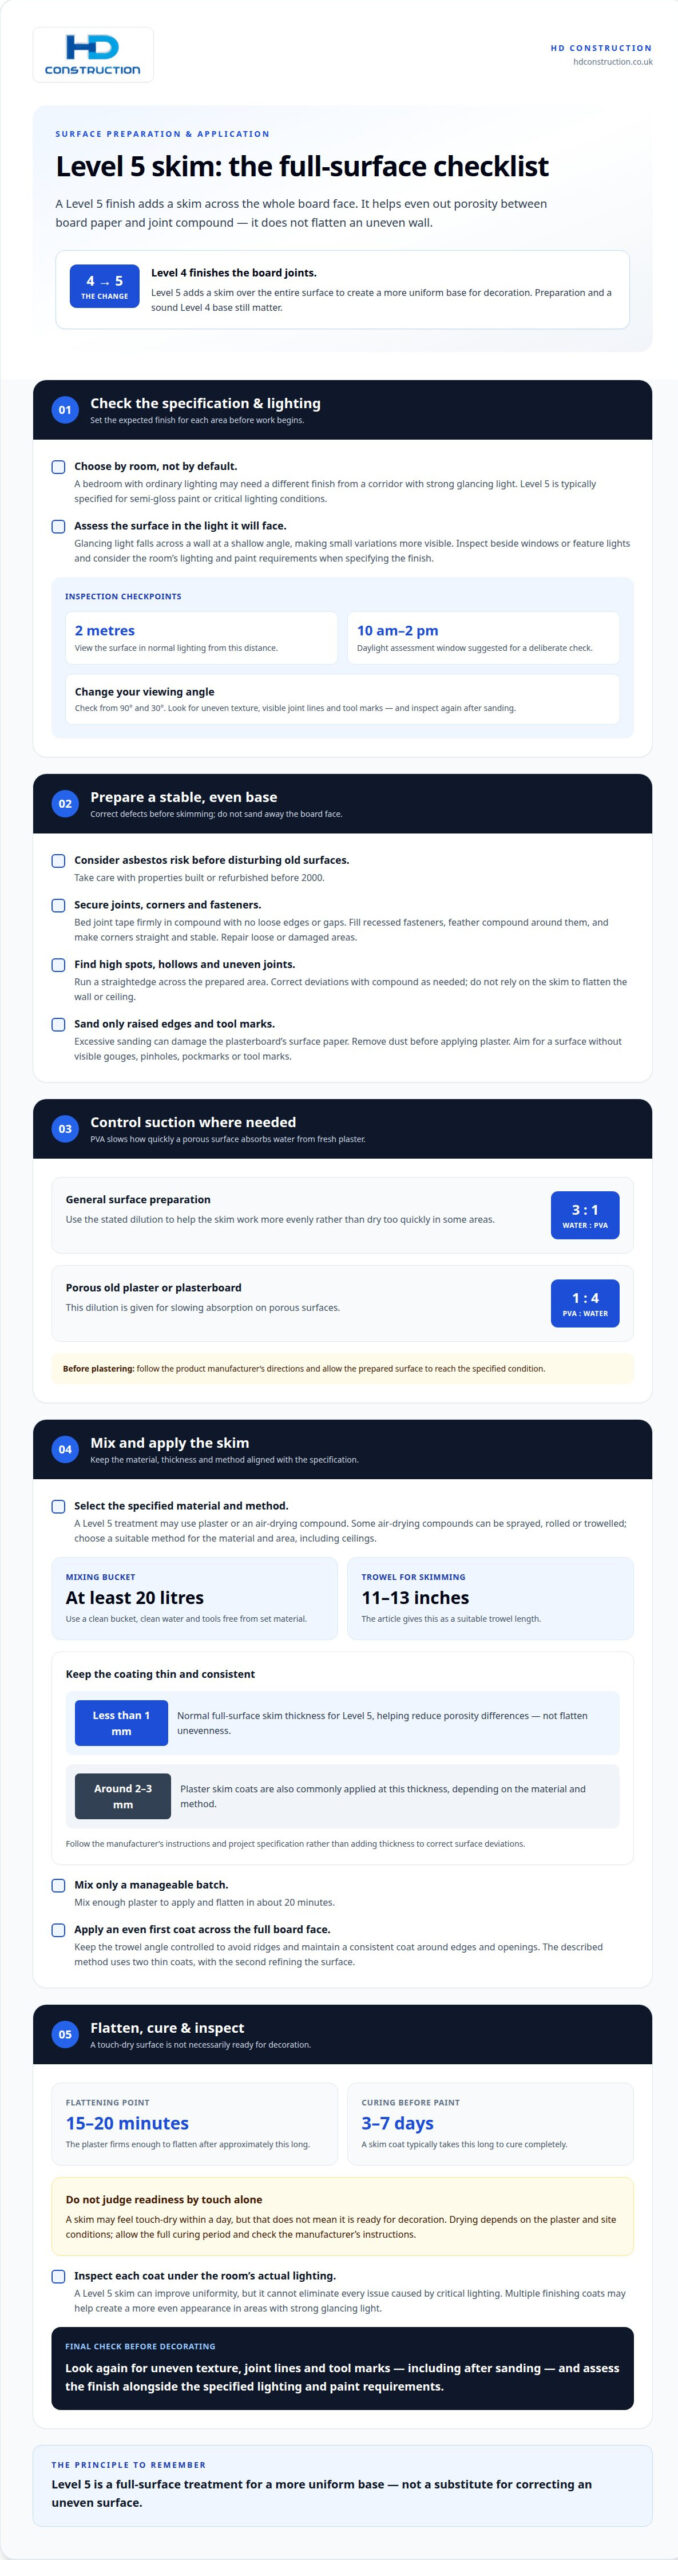
PVA controls suction by reducing how quickly a porous surface absorbs water from fresh plaster. This helps the skim coat work more evenly, rather than drying too quickly in some areas. For general surface preparation, use a dilution of 3 parts water to 1 part PVA. On porous old plaster or plasterboard, use 1 part PVA to 4 parts water to slow absorption. Follow the product manufacturer’s directions and allow the prepared surface to reach the condition specified before plastering.
Preparing Joints, Corners and Fasteners
Joint preparation means securing and smoothing board edges, corners and fixings before the full-surface skim. Check that joint tape is firmly bedded in compound, with no loose edges or gaps. Fill recessed fasteners and feather the compound around them so it sits evenly with the board face. Make corners straight and stable, and repair loose or damaged areas before applying the skim coat. This helps prevent ridges and weak spots showing through the finish, especially under critical lighting.
Achieving Flatness Without Over-Sanding
A flat surface comes from correcting hollows and ridges before skimming, not from sanding away the board face. Run a straightedge across the prepared area to find high spots and uneven joints, then correct them with compound as needed. Sand only raised edges and tool marks. Excessive sanding can damage the plasterboard’s surface paper and create defects. Remove dust before applying plaster, since loose residue can disrupt an even coat. The finished surface should be free of visible gouges, pinholes, pockmarks and tool marks, supporting a uniform appearance after painting.
Mixing and applying the first skim coat
A Level 5 finish needs a full-surface treatment, not just extra compound over the joints. The application method and specified finish determine the material and coating thickness.
Skim-Coat Thickness
For Level 5, the full-surface skim is normally less than 1 mm thick, helping reduce porosity differences between board paper and joints. This thin coating improves uniformity but isn’t designed to flatten an uneven wall or ceiling.
Plaster skim coats are also commonly applied at around 2-3 mm, depending on the material and method. Follow the product manufacturer’s instructions and the project specification, rather than applying a thicker layer to correct surface deviations. A consistent coat helps limit ridges that could show through after painting.
Materials and Tools for Skim Coating
Materials for a Level 5 surface treatment include plaster or an air-drying compound, selected for the specified system. A clean mixing bucket should hold at least 20 litres; use clean water and keep the tools free from set material.
A plastering trowel around 11-13 inches long is suitable for skimming. Some air-drying compounds can be sprayed, rolled or trowelled across the surface. Choose the application method that suits the material and area, including ceilings, and mix only enough plaster to apply and flatten in about 20 minutes.
Application and Drying Time
Apply a thin, even first coat across the full board face, keeping the trowel angle controlled to avoid ridges. The plaster firms enough to flatten after approximately 15-20 minutes. A described skimming method uses two thin coats, with the second refining the surface. Keep the coat consistent around edges and openings.
A skim coat typically takes 3-7 days to cure completely before painting. It may feel touch-dry within a day, but that doesn’t mean it’s ready for decoration. Drying depends on the plaster and site conditions, so allow the full curing period before applying paint. Check the manufacturer’s instructions for the product used.
Differences between Level 4 and Level 5 plasterboard finishes
The key difference is coverage. Level 4 finishes the plasterboard joints and fixings; Level 5 adds a skim or other surface treatment across the board face. Both describe finish methods, not a guarantee that walls and ceilings are perfectly flat.
Level 4 uses a three-coat jointing system. It is generally associated with less demanding lighting and lower-sheen decoration, where small differences in texture are less apparent. Level 5 retains the jointing work and adds full-surface treatment, helping create a more consistent base for painting. The distinction is therefore not simply extra compound at the joints: the additional coat changes how the whole lining accepts decoration.
Choose by room and finish. A wall receiving a matt coating in ordinary light may suit Level 4, while a surface beside a large window, feature lighting or semi-gloss paint may call for Level 5. Glancing light makes slight changes in texture more visible, including on a smooth-looking surface. Identify each room’s lighting and decoration in the project specification rather than assigning one level to every area.
Level 5 does not remove every visual variation or correct poor board alignment. The underlying surface still needs sound preparation, and the specified method should match the plasterboard manufacturer’s instructions. Inspect representative areas under the intended lighting before painting; a close inspection under strong light can reveal marks that ordinary room lighting disguises.
For the practical decision, compare the expected finish with the lighting and paint sheen in each space. Use Level 4 where the joint finish meets the room’s decorative demands; specify Level 5 where a more uniform surface is required. Record the finish for walls and ceilings separately if their conditions differ. For projects where ceiling finish requirements need coordination, discuss ceiling systems alongside the specified finish.
HD Construction: Drylining
HD Construction provides Drylining and Plastering for projects that require coordinated wall preparation and finishing. Its Taping & Jointing work helps prepare plasterboard surfaces as a suitable base for the specified finish. Where structural framing is part of the project, SFS (Steel Framing System) can be included in the wider scope.
Bring HD Construction into the project when finish levels need to be defined alongside the Drylining package, particularly in areas with different lighting or decoration requirements. Clear specifications for each room help align board preparation, joint treatment and the intended surface finish.
Contact HD Construction to discuss your project’s Drylining or Plastering requirements.
Set the finish standard before work begins
The next step is to turn the desired appearance into a clear project brief. Record the finish level for each room, note where windows or feature lighting create demanding conditions, and align the surface requirement with the planned paint sheen. This gives everyone responsible for preparation, finishing and decoration a shared reference point.
If you’re weighing how to achieve a level 5 plaster finish across a larger project, consider how the specification affects sequencing and trade handovers as well as the final surface. Early coordination helps keep expectations consistent between drawings, site work and decoration, reducing the risk of late changes to the finish requirement.
HD Construction can support projects requiring drylining, plastering or SFS (Steel Framing System), with the scope shaped around the building’s requirements. Contact HD Construction about your plastering requirements and take the next step towards a well-defined finish.
Frequently Asked Questions
What do Levels 4 and 5 describe?
Levels 4 and 5 describe different plasterboard finishing requirements, not the number of plaster coats. Level 4 finishes joints and fixings with a jointing system; Level 5 adds treatment over the board face. For example, a specification can call for Level 4 in a room with ordinary decoration and Level 5 where the surface needs more uniform porosity.
What is a Level 5 plaster finish in the UK?
In UK project work, Level 5 describes a plasterboard finish with treatment across the full surface, in addition to finished joints. It provides a more consistent base for decoration, rather than correcting a wall that is out of plane. The project specification and product manufacturer’s guidance help define the required finish for each room and surface.
How does Level 5 compare with Level 4 plasterboard finishing?
Level 4 uses a three-coat jointing system, while Level 5 adds full-surface treatment to the jointed lining. Both depend on sound board installation and careful joint finishing. A practical distinction is the board face: Level 4 leaves it untreated, whereas Level 5 covers it to reduce differences between board paper and compound. This matters under more demanding decoration or lighting.
What are the steps to achieve a Level 5 skim coat or drywall finish?
The process for how to achieve a level 5 plaster finish starts with a clean, sound surface and properly finished joints and fixings. Mix the chosen material according to its instructions, then apply treatment across the board face using a suitable method, such as rolling, spraying or trowelling. Flatten the coat as it firms and allow it to cure before decorating.
How thick should the skim coat or surface treatment be for Level 5?
A Level 5 full-surface treatment is normally less than 1 mm thick. This differs from a plaster skim coat, typically applied at around 2-3 mm. These figures describe different applications, so follow the specified system and material instructions rather than adding thickness to correct uneven boards. Achieve flatness through substrate preparation, not by relying on the skim.
What lighting and paint conditions require a Level 5 finish?
When planning how to achieve a level 5 plaster finish, consider semi-gloss paint and critical lighting, which can reveal surface variations. Glancing light from a window or feature light can make small imperfections more visible, so assess each room’s lighting and planned decoration. Full-surface treatment can improve uniformity, but may not remove every visible variation. Multiple finishing coats can help where glancing light is strong.